自动配置(上)
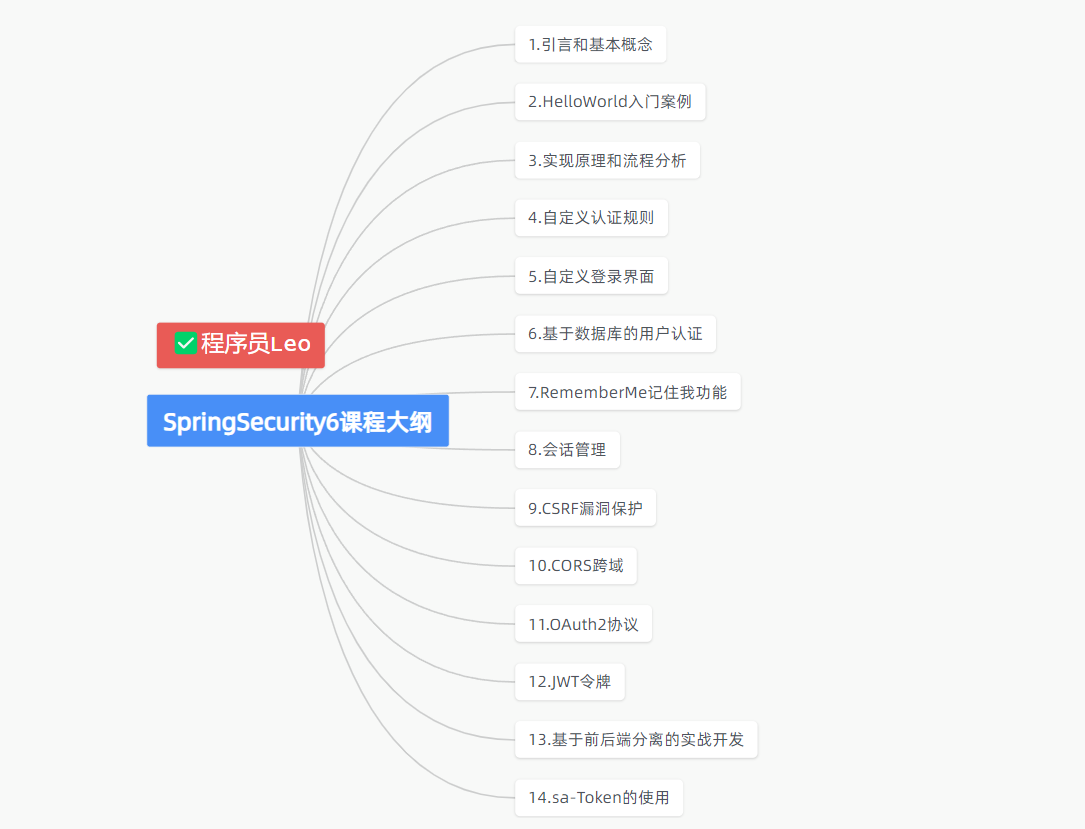
SpringSecurity6 | 自动配置(上)
1.前言
大家好,我是Leo哥🫣🫣🫣,上一节我们了解了SpringSecurity中一些核心过滤器。后面我们将逐渐揭开为什么引入依赖之后就会进行登录鉴权这一神秘面纱。那就是通过SpringBoot的一些自动配置为我们动态的加入了鉴权配置。但是我们真正的了解他,还是需要了解我们SpringBoot项目的自动配置。但是我们这里会简单介绍一下,如果想要深入学习SpringBoot的自动配置,请看这篇。好了,话不多说让我们开始吧😎😎😎。
2.问题回顾
还记得我们之前的问题吗,为什么我们引入了SpringSecurity依赖之后,我们项目所有的请求都需要做登录认证才可以进行访问呢。在了解到这个问题之前,我们需要学习了解一下关于SpringBoot自动装配。
3.简述SpringBoot自动配置
这里我画了一张图让大家更清晰地了解关于SpringBoot配置的整合流程。
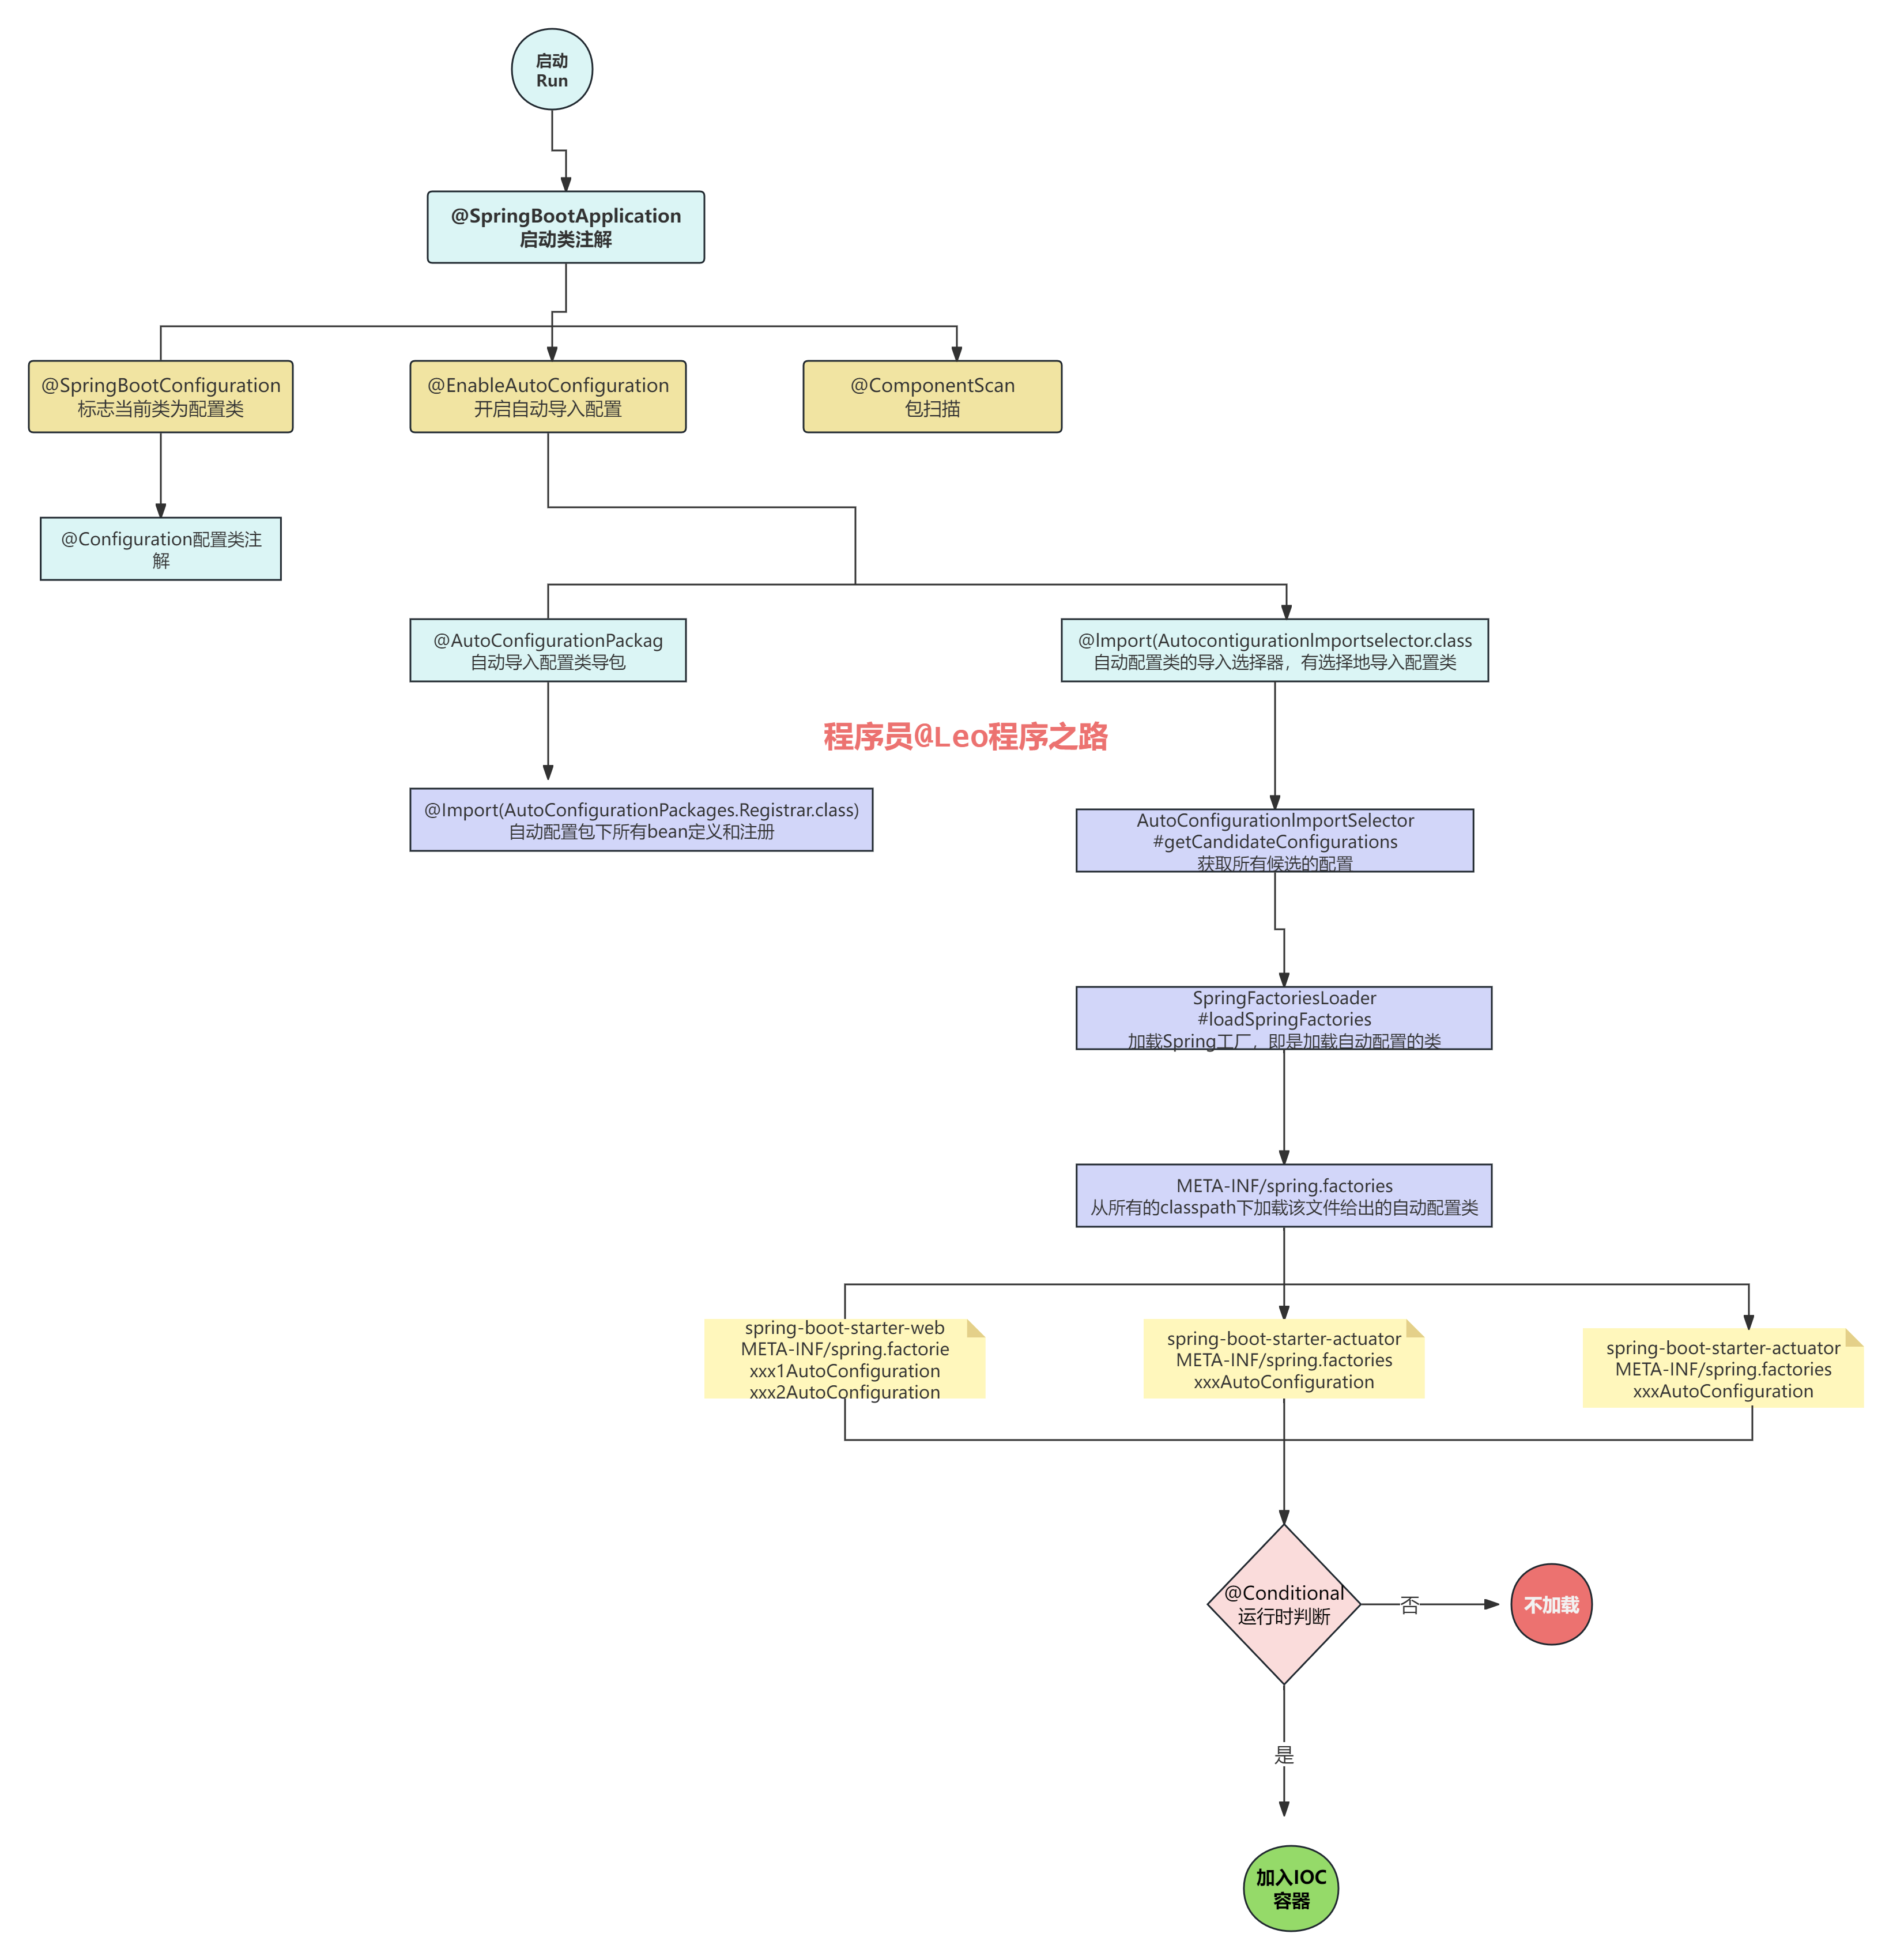
3.1 @SpringBootApplication
自动导入配置包
点进去查看代码:

image-20231117102228841
@Import 为spring的注解,导入一个配置文件,在springboot中为给容器导入一个组件,而导入的组件由 AutoConfigurationPackages.class的内部类Registrar.class 执行逻辑来决定是如何导入的。
@Import({Registrar.class})
点Registrar.class进去查看源码如下:
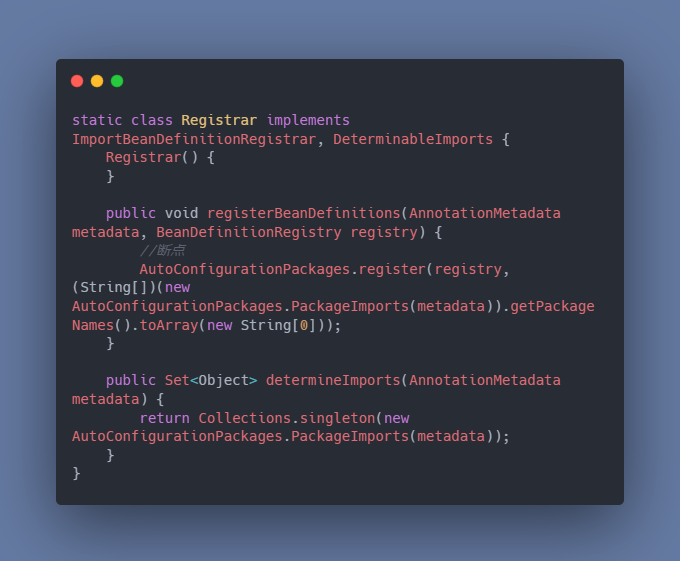
注:Registrar实现了ImportBeanDefinitionRegistrar类,就可以被注解@Import导入到spring容器里。
3.2 @Import
作用:AutoConfigurationImportSelector开启自动配置类的导包的选择器,即是带入哪些类,有选择性的导入
点AutoConfigurationImportSelector.class进入查看源码,这个类中有两个方法见名知意:
selectImports: 选择需要导入的组件
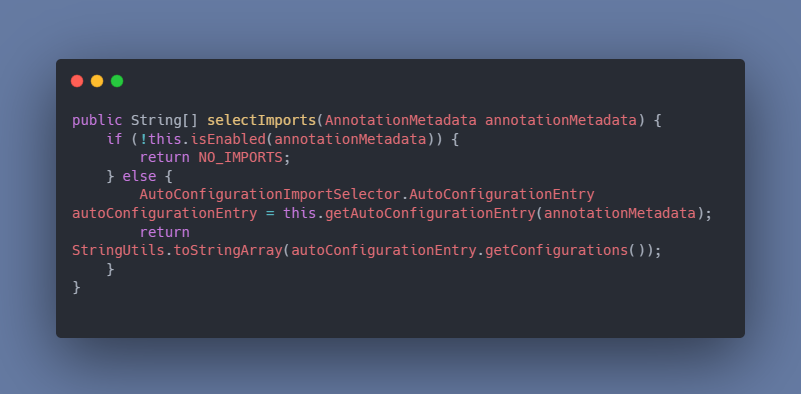
image-20231117102740858 getAutoConfigurationEntry: 根据导入的@Configuration类的AnnotationMetadata返回AutoConfigurationImportSelector.AutoConfigurationEntry
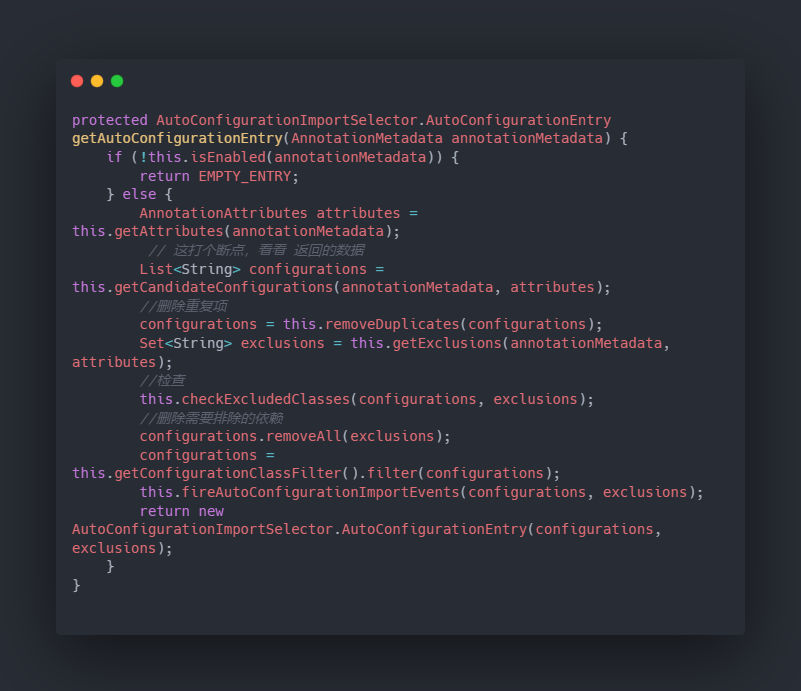
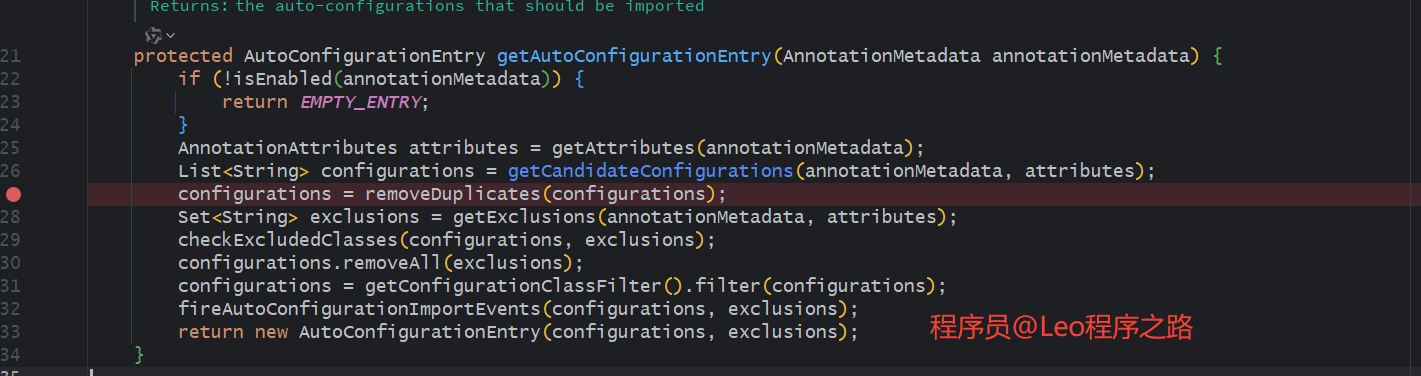
image-20231117102910319
this.getCandidateConfigurations(annotationMetadata, attributes)这里断点查看
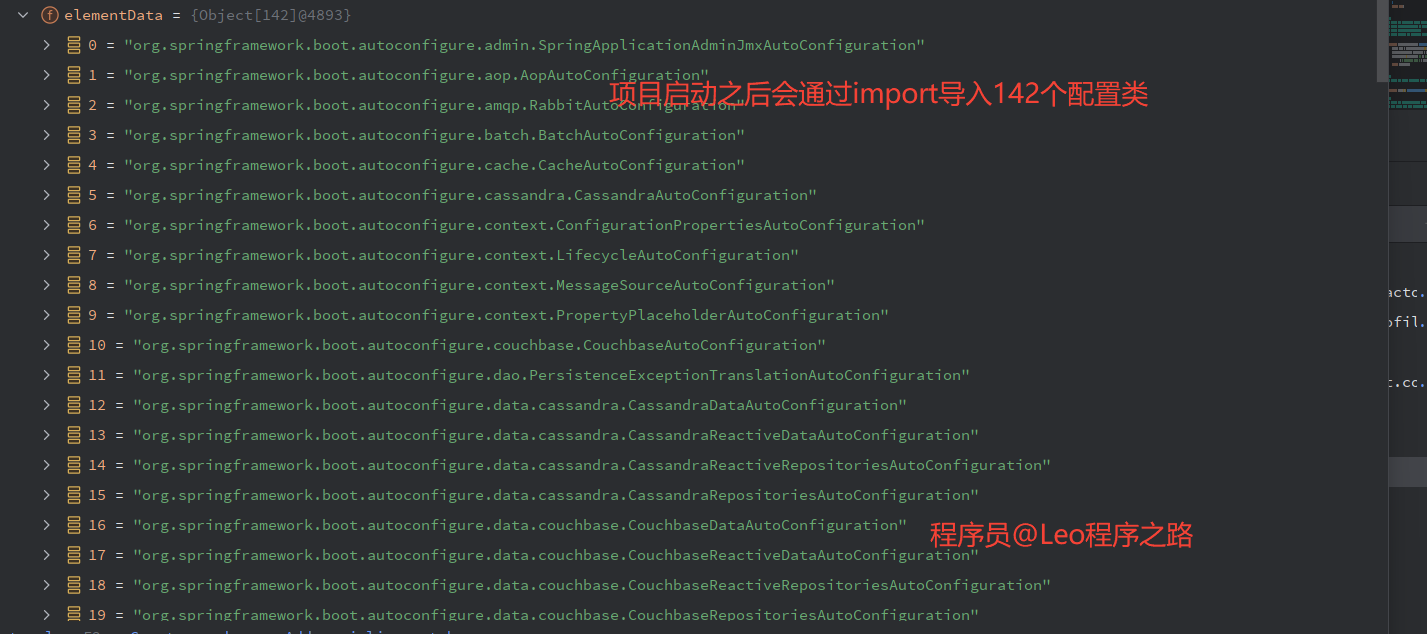
configurations数组长度为127,并且文件后缀名都为 **AutoConfiguration
结论: 这些都是候选的配置类,经过去重,去除需要的排除的依赖,最终的组件才是这个环境需要的所有组件。有了自动配置,就不需要我们自己手写配置的值了,配置类有默认值的。
3.3 自动配置核心
我们继续往下看看是如何返回需要配置的组件的
1.getCandidateConfigurations
方法如下:

getCandidateConfigurations方法从给定的注解元数据和属性中获取候选项配置,并返回一个包含自动配置类的列表。它首先从AnnotationMetadata中获取AutoConfiguration的导入属性,然后使用这些导入属性从AutoConfiguration类的META-INF/spring/org.springframework.boot.autoconfigure目录中加载自动配置类的候选项。如果候选项为空,则会抛出一个异常。最后,它返回候选项列表。
那么是从哪里加载出来的呢,我们接下来点进去load方法打一个断点进行查看。

load是一个静态方法,用于加载指定注解类型的候选项。它接受两个参数:注解类型和类加载器。函数首先检查注解是否为空,然后根据给定的类加载器决定使用哪个类加载器。接下来,它根据注解的名称构建一个URL路径,并在类路径中查找该路径下的所有URL。然后,它遍历所有的URL,读取候选配置信息,并将其添加到一个列表中。最后,函数将该列表封装到一个ImportCandidates对象中,并返回它。
2.getSpringFactoriesLoaderFactoryClass()
我们点进去发现:this.getSpringFactoriesLoaderFactoryClass()返回的是EnableAutoConfiguration.class这个注解。这个注解和@SpringBootApplication下标识注解是同一个注解。
protected Class<?> getSpringFactoriesLoaderFactoryClass() {
    return EnableAutoConfiguration.class;
}
protected Class<?> getSpringFactoriesLoaderFactoryClass() {
    return EnableAutoConfiguration.class;
}
结论:获取一个能加载自动配置类的类,即SpringBoot默认自动配置类为EnableAutoConfiguration
3.4 SpringSecurity核心配置
此时就会加载这两个组件:SpringBootWebSecurityConfiguration.class, SecurityDataConfiguration.class 尤其是第一个。
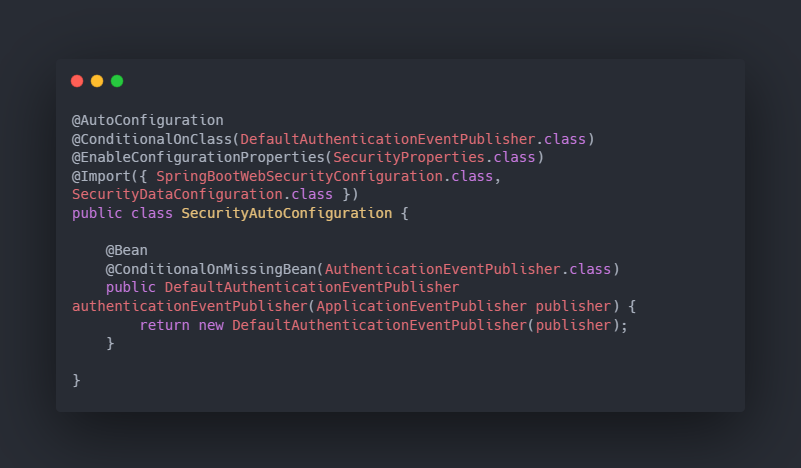
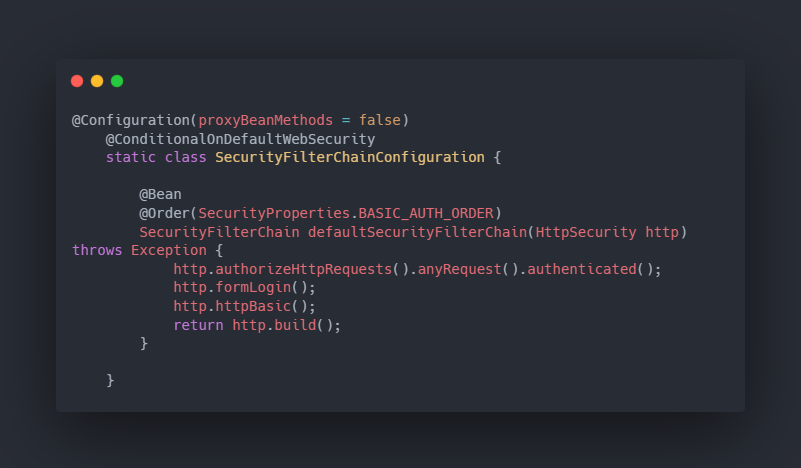
3.5 SpringBootWebSecurityConfiguration
终于在最后SpringBootWebSecurityConfiguration我们有了重大发现。
这里边只有一个@Bean注解,最终会创建一个对象:SecurityFilterChain,为什么最终引入了SpringSecurity依赖之后就会所有的请求都会被拦截答案就在这个方法里边。可算揭开了他的神秘面纱。
3.6 小结
基于SpringBoot的自动装配,由于SpringSecurity的装配配置在SpringBoot配置环境中,所以它默认会被加载,加载完毕之后defaultSecurityFilterChain被调用,SecurityFilterChain对象被创创建。所有的方法都会被被鉴权。
具体的方法调用路径或者叫配置路径是这样的:首先是三个核心的注解:
@SpringBootApplication-> @EnableAutoConfiguration>@Import(AutoConfigurationImportSelector)
然后通过@Import注解去加载他的所有配置文件到SpringBoot中。这样加载到SpringSecurity的核心文件。最终调用到上边的方法,导致所有的方法都得进行登录认证。
4.参考文献
5.总结
以上便是本文的全部内容,本人才疏学浅,文章有什么错误的地方,欢迎大佬们批评指正!我是Leo,一个在互联网行业的小白,立志成为更好的自己。
如果你想了解更多关于Leo,可以关注公众号-程序员Leo,后面文章会首先同步至公众号。
