自定义认证规则
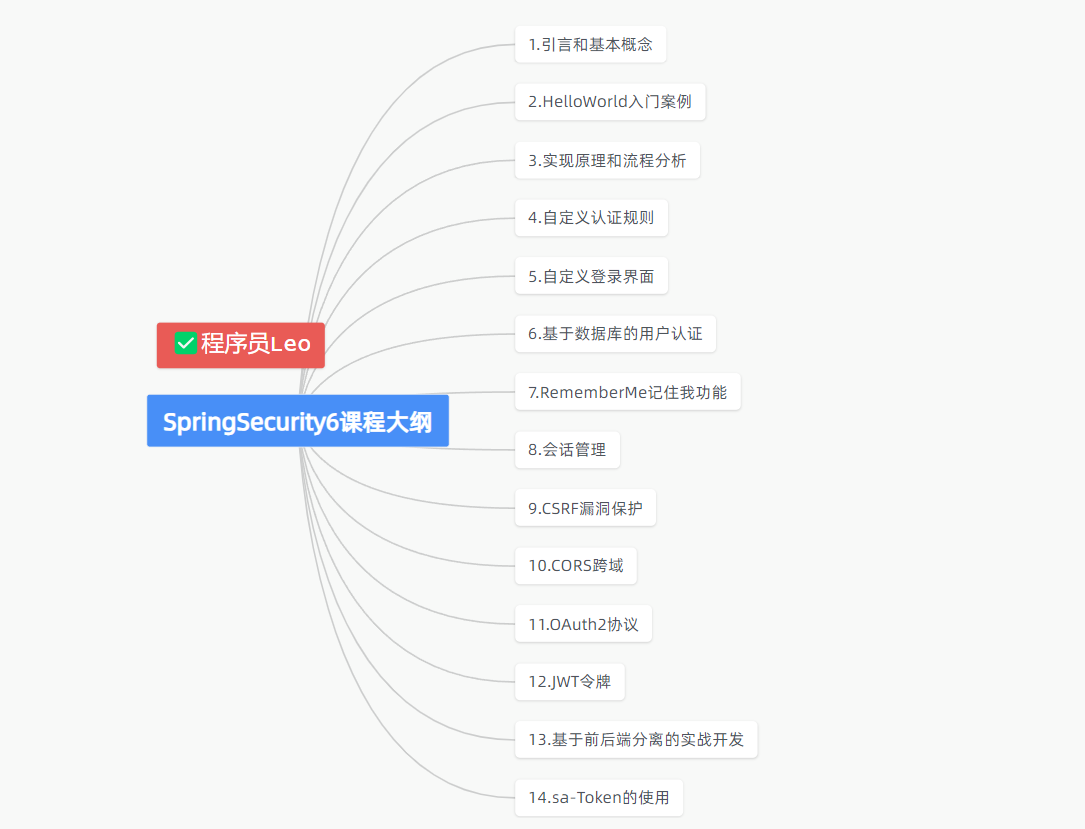
SpringSecurity6 | 自定义认证规则
1.前言
大家好,我是Leo哥🫣🫣🫣,接到上一节,我们学习了如何修改SpringSecurity默认用户,使用我们自己的自定义的用户名和密码来进行认证登录。但是有时候我们的开发者可能并不是所有的接口都需要进行拦截,就比如,登录,注册接口等这些是不是要进行拦截的,那么如何修改并自定义这些规则。没错这就是我们本节的重点。好了,话不多说让我们开始吧😎😎😎。
2.环境搭建
本篇我们开始搭建一个新的模块,并取名为custom。具体搭建过程大家可以自行搭建,我这里就不在赘述了哈。
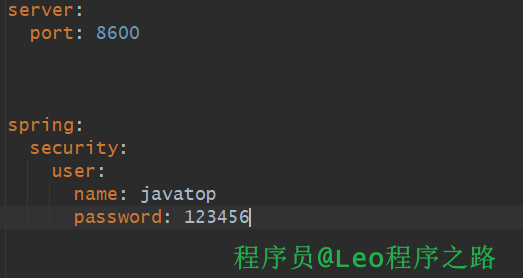
我已经搭建好了基本工程,并定义好了两个接口,以及自定义我们的登录用户名以及密码。
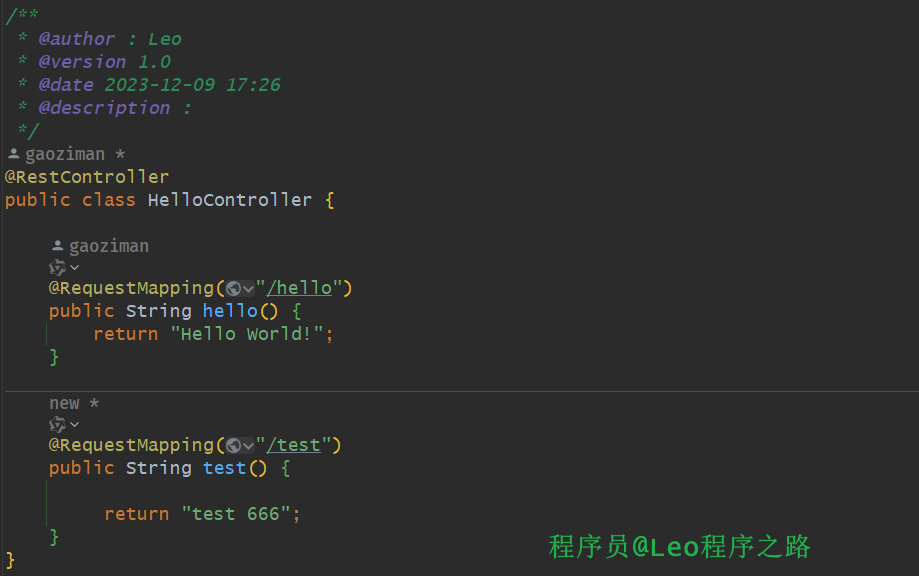
下面我们直接启动SpringBoot工程。

通过http://localhost:8600/test访问test接口
通过http://localhost:8600/hello访问hello接口
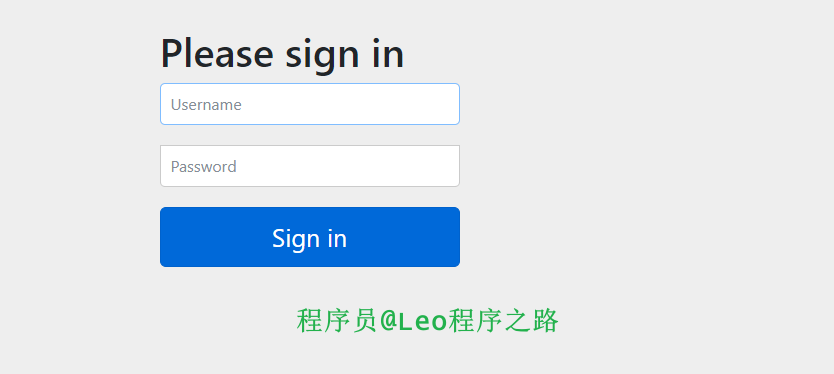
发现他都经过认证,至此我们基本环境介绍就到这里。
3.自定义规则
3.1 概述
在SpringSecurity6中,我们原本在原来SpringSecurity实现的方法已经被抛弃,已经完全不能用了。我们在SpringSecurity6可以这样进行实现。
- 首先自定义一个配置类,我这里命名为MySecurityConfig.java。
- 然后实现@EnableWebSecurity注解,并向Spring中注入一个Bean对象SecurityFilterChain。
- 后面我们都是通过这样实现方式的。
- 最后我们就可以开始自定义我们的规则了。
3.2 规则
- 放行hello接口。
- 除了hello接口,其他接口都需要进行认证。
- 开启表单认证。
直接上代码。
package org.javatop.custom.config;

import org.springframework.context.annotation.Bean;
import org.springframework.context.annotation.Configuration;
import org.springframework.security.config.annotation.web.builders.HttpSecurity;
import org.springframework.security.config.annotation.web.configuration.EnableWebSecurity;
import org.springframework.security.web.SecurityFilterChain;

/**
 * @author : Leo
 * @version 1.0
 * @date 2023-12-09 17:45
 * @description :
 */
@Configuration
@EnableWebSecurity
public class MySecurityConfig {

    @Bean
    public SecurityFilterChain securityFilterChain(HttpSecurity http) throws Exception {
        http.authorizeRequests()
                .requestMatchers("/hello").permitAll() // 放行改资源,不用认证可以直接访问
                .anyRequest().authenticated() // 所有请求都需要认证
                .and().formLogin(); // 开启表单登录
        return http.build();
    }
}
最后我们重启项目然后看效果是不是按照我们配置这样的。
首先访问http://localhost:8600/hello接口,发现确实没有通过认证可以直接访问,说明我们的配置类生效了。

然后访问http://localhost:8600/test接口,发现我们需要进行登录认证之后才可以访问。

3.3 拓展
当然也不是需要通过一个一个加然后进行配置,我们如果需要放行多个接口,我们可以通过进行以下配置。
直接在后面加上你需要放行的接口路径即可。

4.总结
以上便是本文的全部内容,本人才疏学浅,文章有什么错误的地方,欢迎大佬们批评指正!我是Leo,一个在互联网行业的小白,立志成为更好的自己。
如果你想了解更多关于Leo,可以关注公众号-程序员Leo,后面文章会首先同步至公众号。